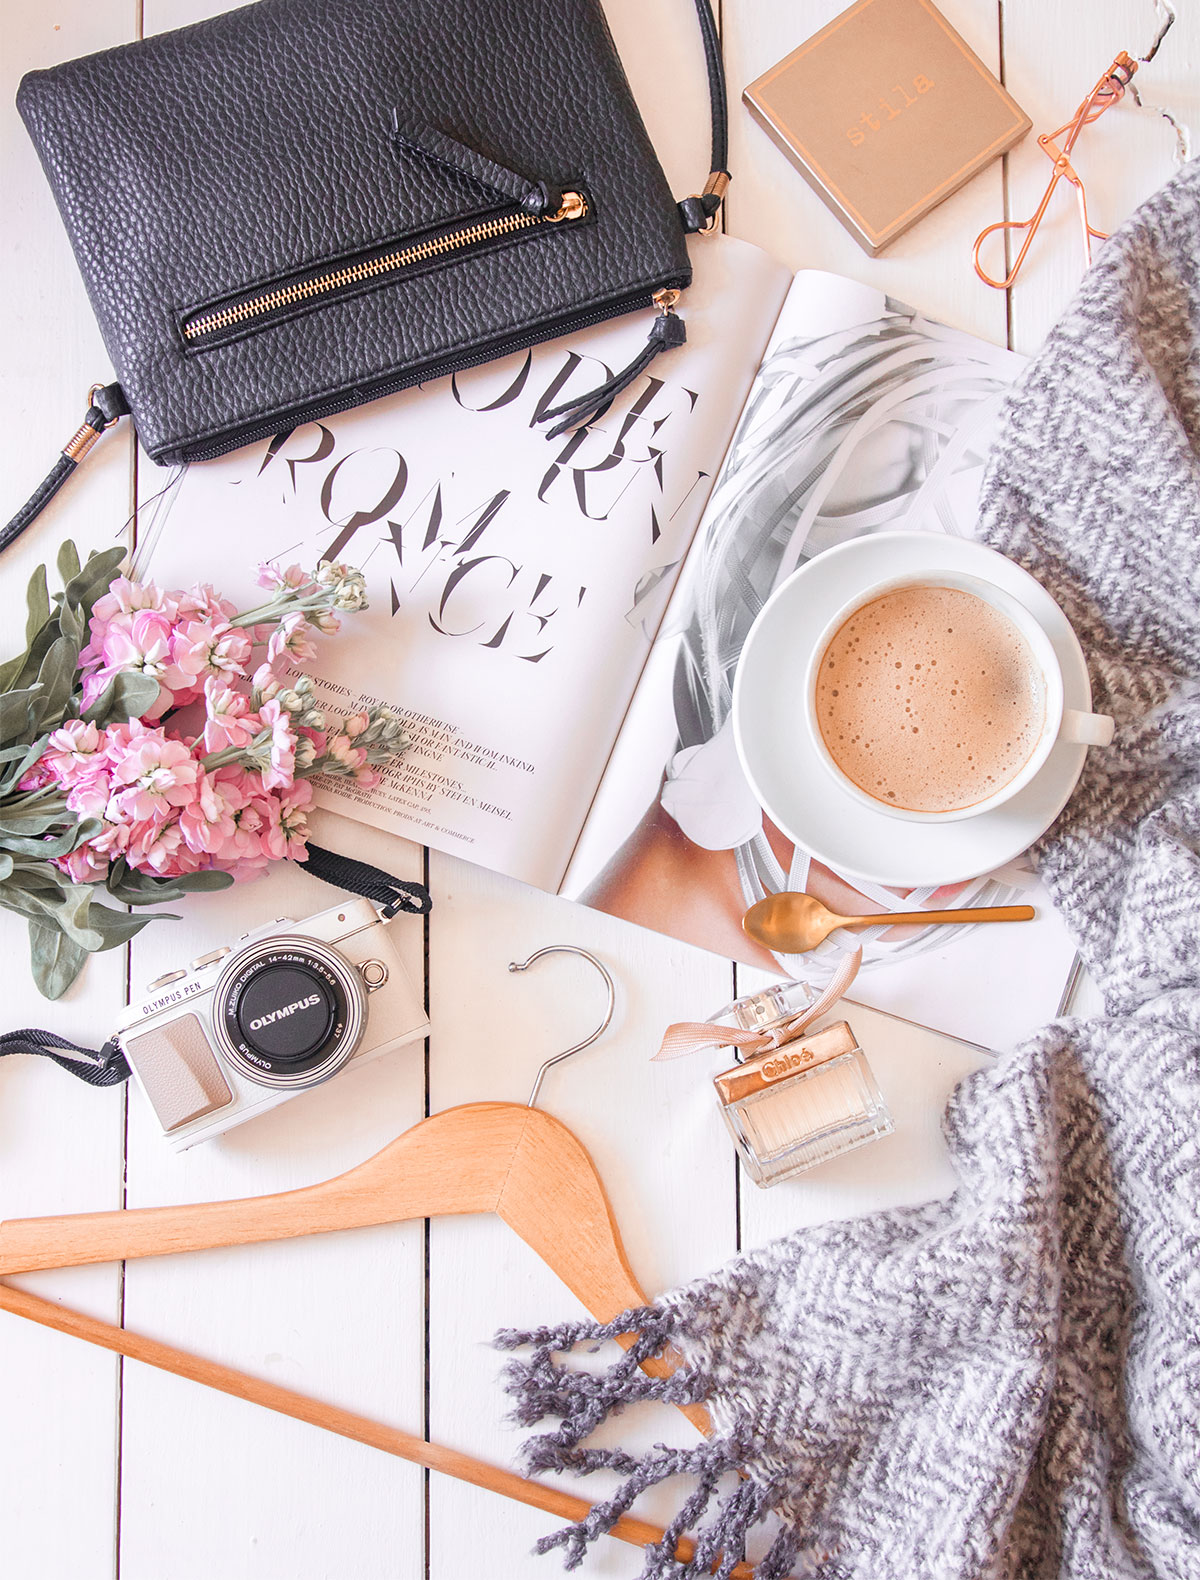
Today I’m sharing the blogging & photography equipment that I use on a daily basis and can’t be without…
Every blogger has different essentials that they swear by and I’m no different. I’ve been blogging for around two and a half years now and the equipment that I use for photography has constantly evolved throughout that time. I knew a little about photography before I started my blog, so whilst my old blog photos are quite embarrassing, I did know my way around a camera. The first camera I used was just a little panasonic lumix compact that I still have to this day, I thought it took good photos at the time but now I’d say otherwise! I was at Uni when I first started blogging, but when I went home during the summer, I had access to two DSLR’s due to both my parents owning one each. I was ALWAYS stealing my dad’s camera to take photos with, I was never big on photography (how times change!) but I liked snapping things now and again. I started taking tons of blog photos with my dads DSLR and his 50mm lens and my blog photography soon improved. That same summer, I decided to invest in my own DSLR which was the Canon 700D and I still use it to this day – I haven’t looked back! I now have various cameras and lenses, amongst other photography equipment so I’m going to share my essentials with you all. I’m not saying every blogger needs to own or use the same equipment as me, I’m simply sharing what I use because I’m always getting asked and I personally find these type of insightful posts really interesting! It’s also vital you make use of photo editing software, like Adobe Photoshop, they even have a free image resizer for photo size increase.
Blogging & Photography Equipment
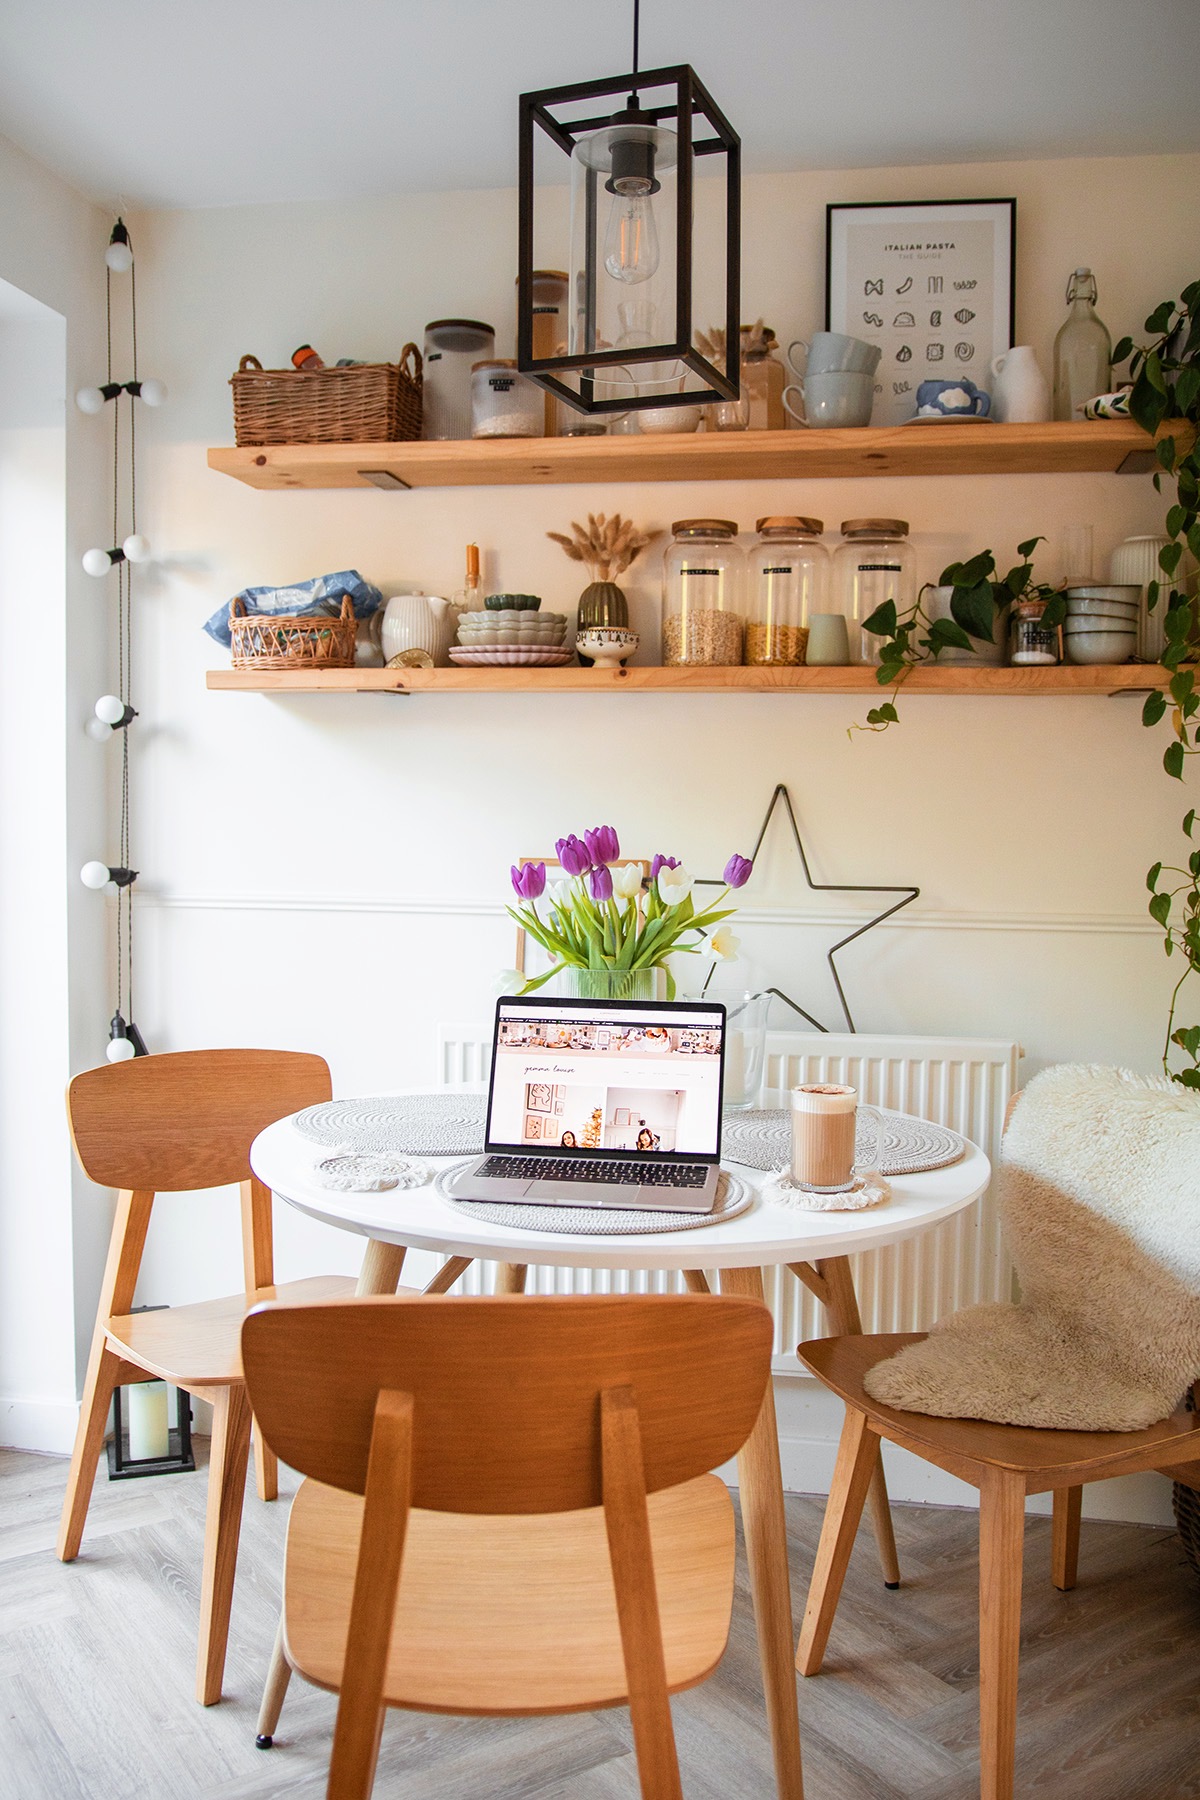
Computer: Macbook Pro
Some people blog on their iPads so really the actual technology you use doesn’t really matter, but personally I swear by my Macbook. I’ve had my Macbook for about 4 years now since I started University and whilst it’s got a bit slow over that time, it’s still going strong. I can’t live without a Macbook anyway as it’s the best kind of laptop to have for my career in Graphic Design, but it’s also brilliant for blogging and running programs like Photoshop to cater for all my Photography needs. If you do bits on the side like blog header designs or anything like that, it’s also fab for running all the programs you’ll need. I just can’t fault Macbooks at all, they’re the best!
Web Host: WordPress
When I first started out with my blog, I signed up with what the majority of new bloggers go for, which is blogger. It’s really straightforward to use, has basic HTML if you want to customise anything, and lots of super affordable themes can be found for it on Etsy. For the past two and a half years that’s what I’ve used. I read countless times about how you should make the move to WordPress and go self-hosted, but I didn’t want to invest money into getting it all done properly for me until I felt like my blog was in a place where I could afford to do that. I wouldn’t say my blog was a full time job by any means, but I earn pretty good money from it quite often these days so I now feel like I’m in a place where I can invest a bit more into it in order to make more from it. So recently, I paid for the Blogger to WordPress Migration from Pipdig and took the plunge. It was VERY scary but I couldn’t recommend him any more, Phil did absolutely everything for me and I lost nothing, not even my comments. It was on sale for £90 when I got it done which I didn’t know, but it’s usually £145 so I got SUCH a good deal, I’m so happy. It also includes a free theme of your choice from his website and I got this one that you can see now (obv) which I’m obsessed with, it’s so pretty! Anyway, I highly recommend the move to WordPress if you don’t already use it, I read everywhere that it was difficult to use, but honestly, it took me about an hour to figure everything out, it’s a piece of cake and so much better than Blogger!
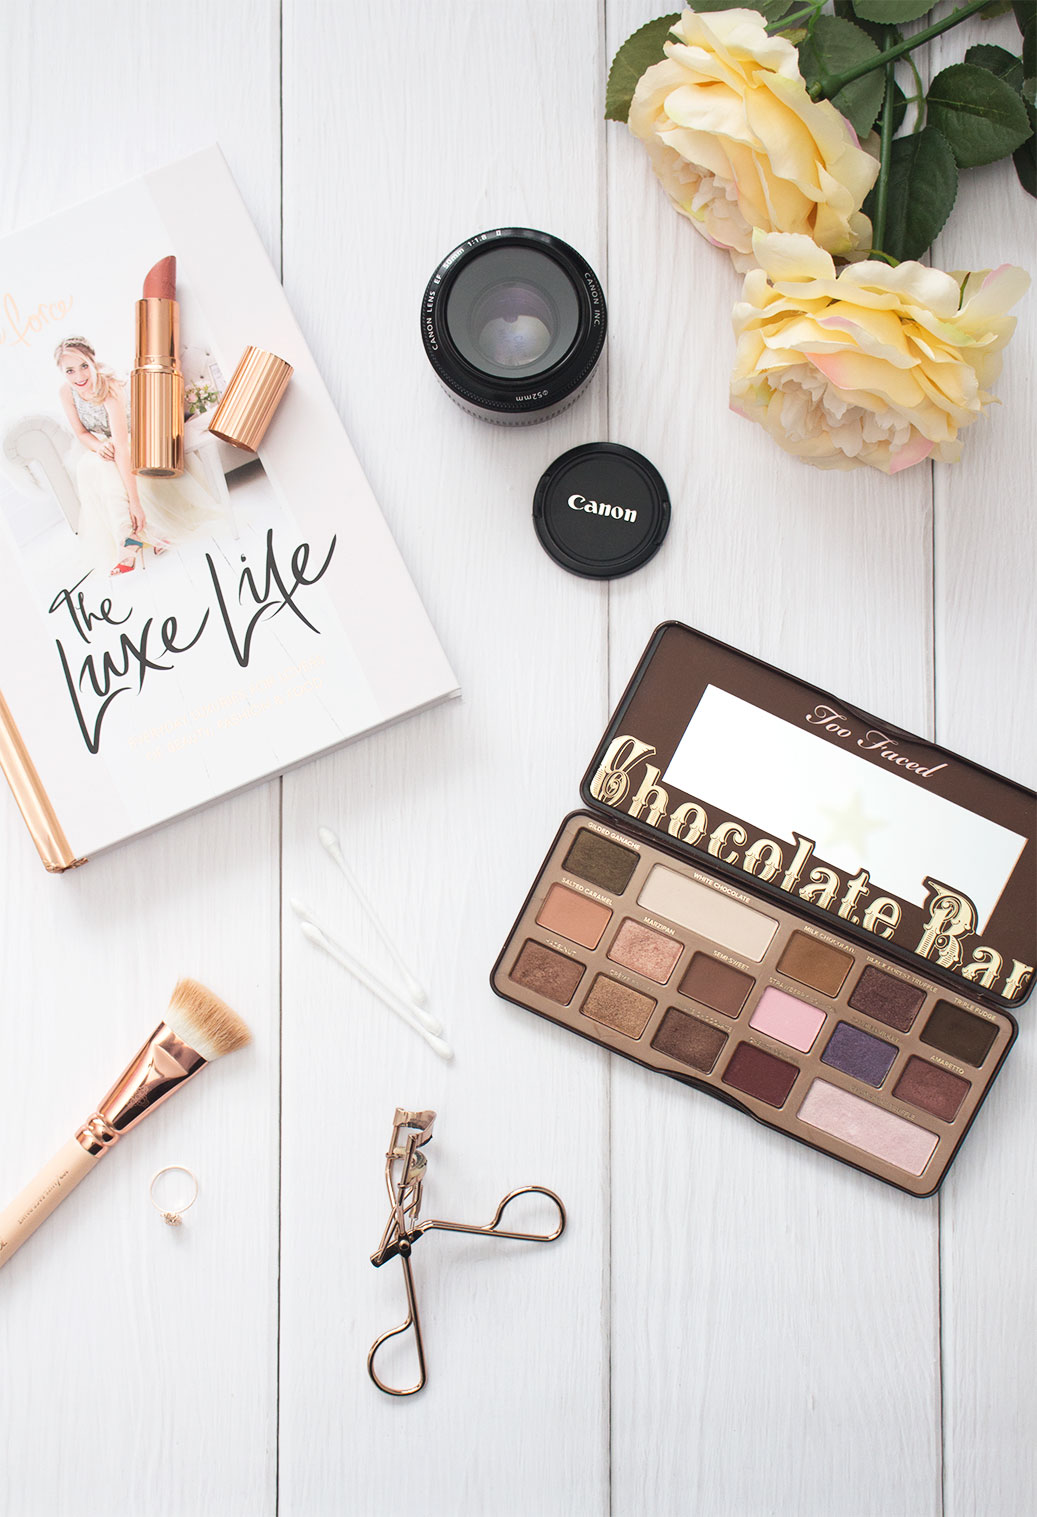
Blogging Camera: Canon 700D & Sigma 18-35mm Lens
Like I mentioned above, a couple of years ago I invested in the Canon 700D and it’s the same camera that I use to this day. I absolutely love it, it’s known as one of the more affordable and beginner options for a DSLR but I don’t really understand why you would go for a more expensive one (unless money is no object ofc) when it has everything you could possibly need. It has a touch screen so you can press the area you want to focus on with your finger and then it takes the shot instantly, as well as a flip out screen which is perfect for flat lays, selfies or filming with. I film all my YouTube videos with it, as well as take all my blog photos with it and it’s just fantastic. I did use the standard lens a lot when I first got it but these days I barely ever reach for it. It is good for flat lays to get everything in focus or for quick snaps, but for close ups with a dreamy blurred background and the gorgeous bokeh effect, I prefer to use a lens with an aperture of f1.8. Now most bloggers swear by the 50mm lens for this, which is great as it’s only around £50, but I never got on with it very well due to the absence of the ability to zoom. This is what drew me to the Sigma 18-35mm Lens that I invested in earlier this year. The aperture ranges from 1.8-16 which means you can do everything on it, from taking flat lays with everything in focus, to close ups with a dreamy bokeh background. And what makes it even better is that, YOU CAN ZOOM. So basically, I just had to have it. I was desperate for an all in one lens so I never had to change it and this gave me everything I needed. It doesn’t actually have image stabilizer so you do have to have a steady hand, but I’ve been taking all of my blog photos on it all year and you guys are always asking what camera/lens I use. The only negative thing I have to say about it is that it weighs an absolute ton, I’ve still taken it out a few times as I just put it in the bottom of Reuben’s pram and get it out when I want to use it, but it is really really heavy and bulky. It’s not too much of a problem for me as I take all of my blog photos at home so it just stays on my desk the majority of the time, but for someone who takes their camera out and about all the time, it’s probably not for you, unless the weight doesn’t bother you!
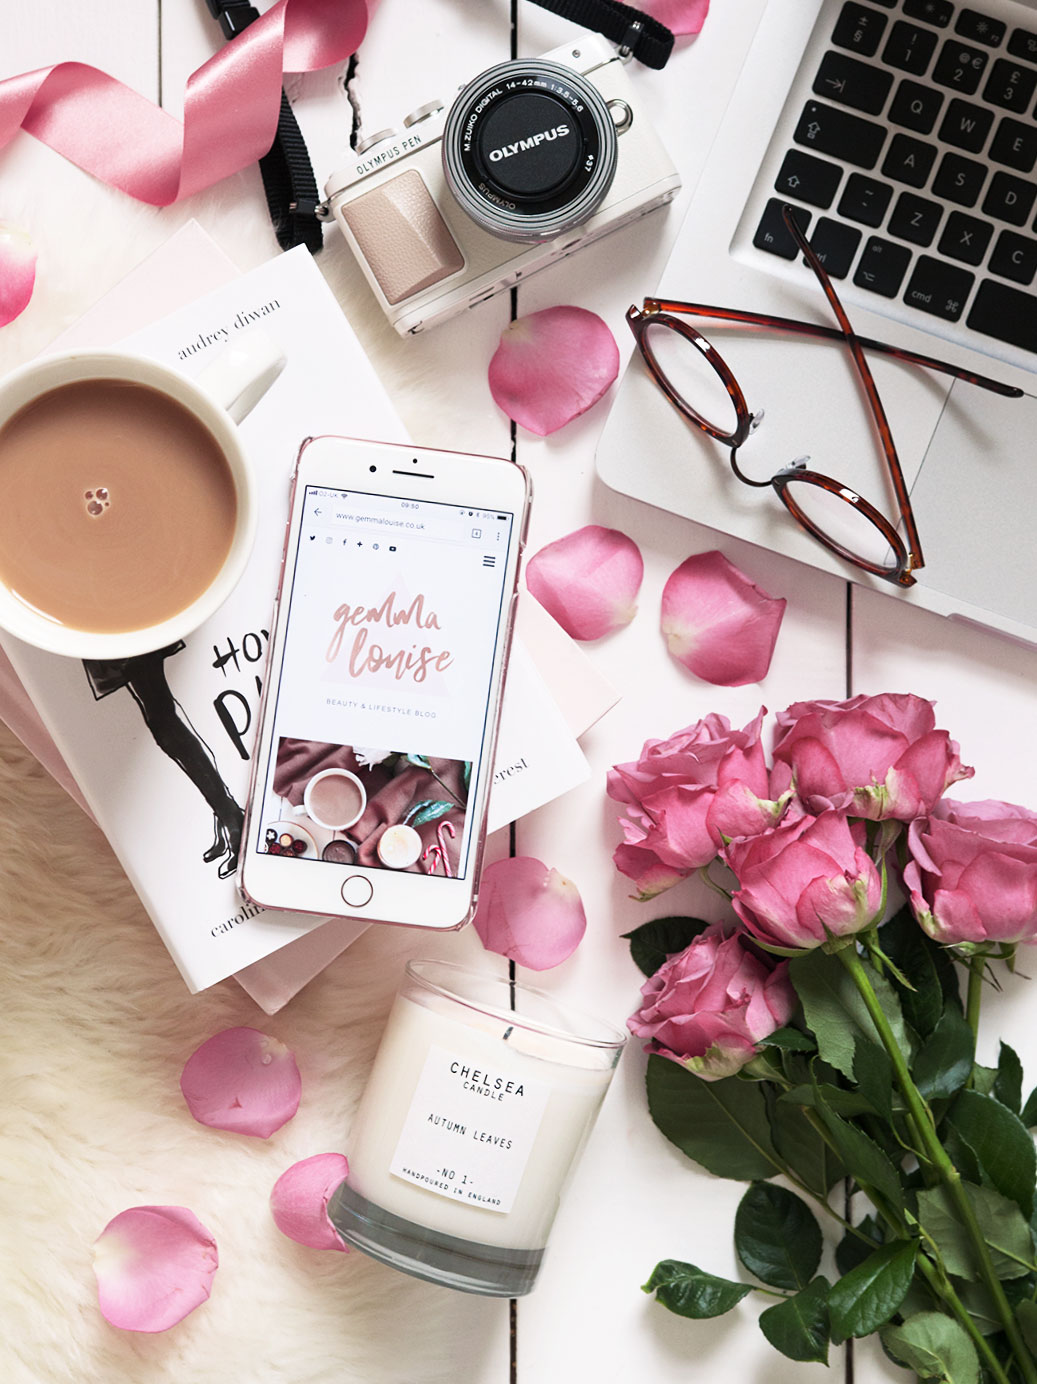
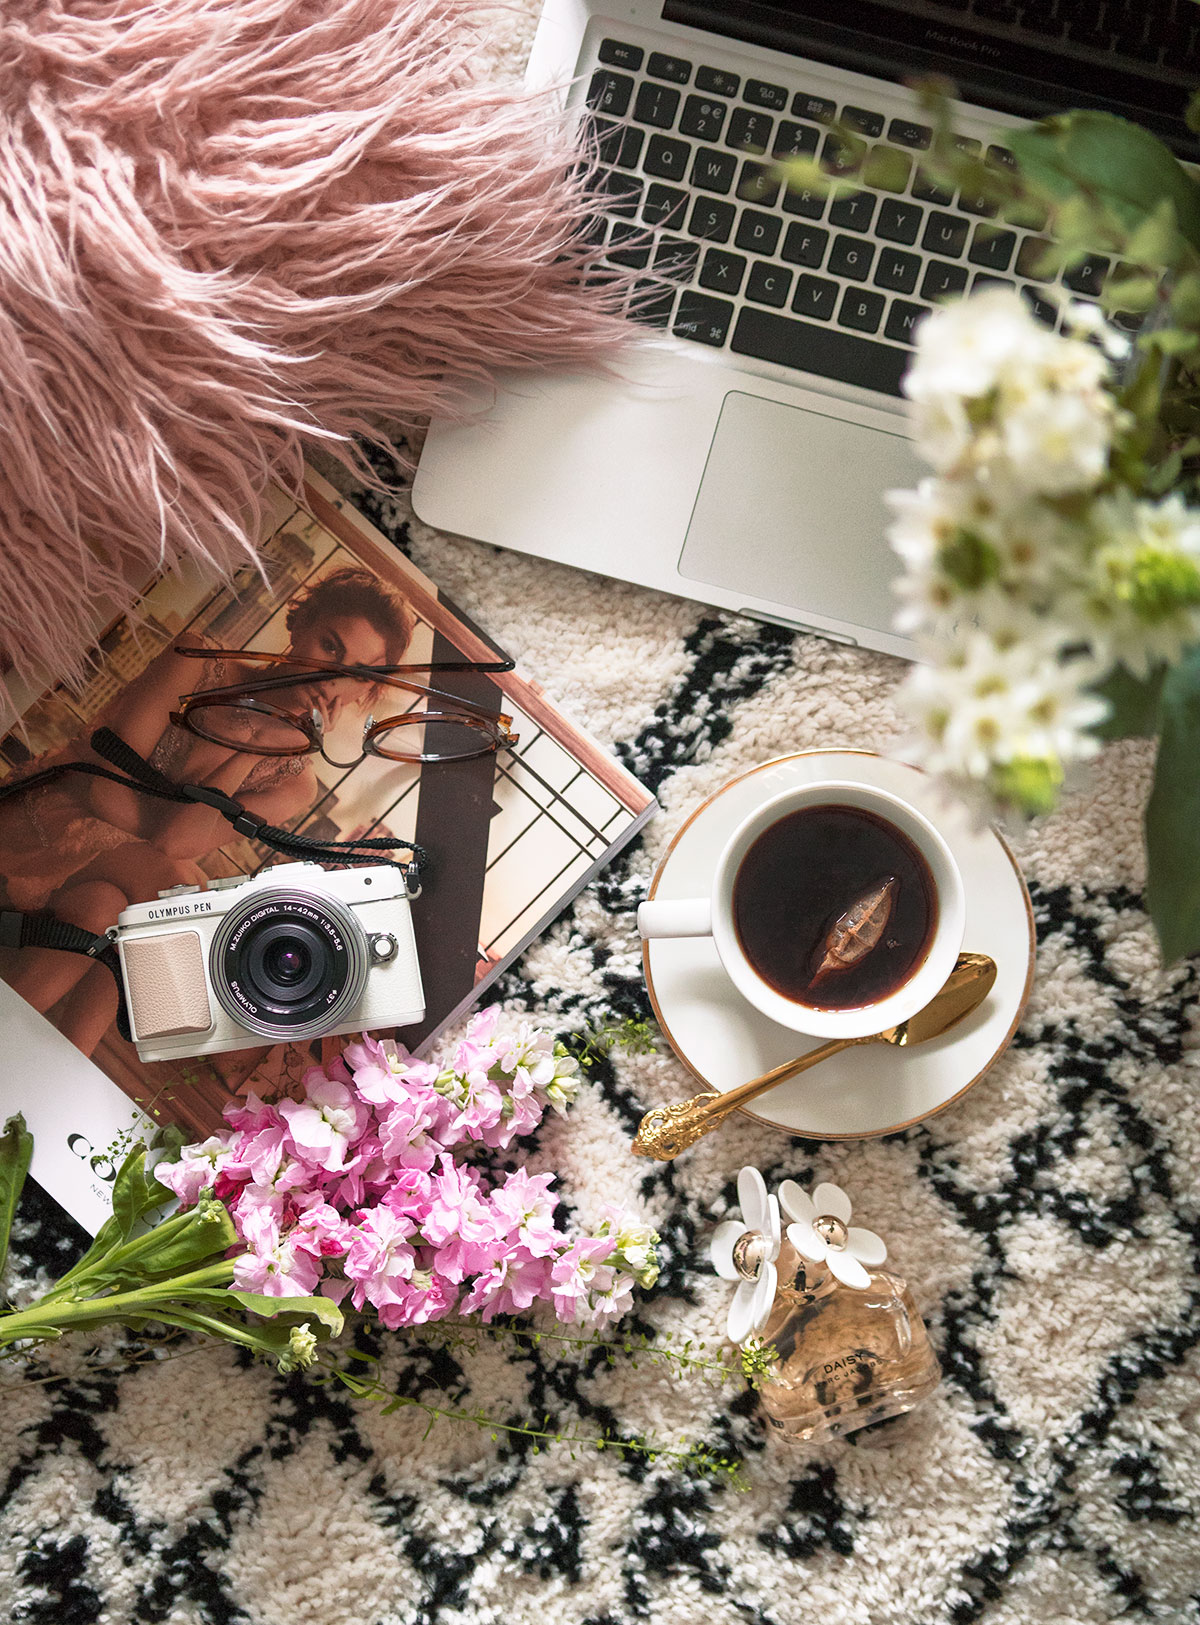
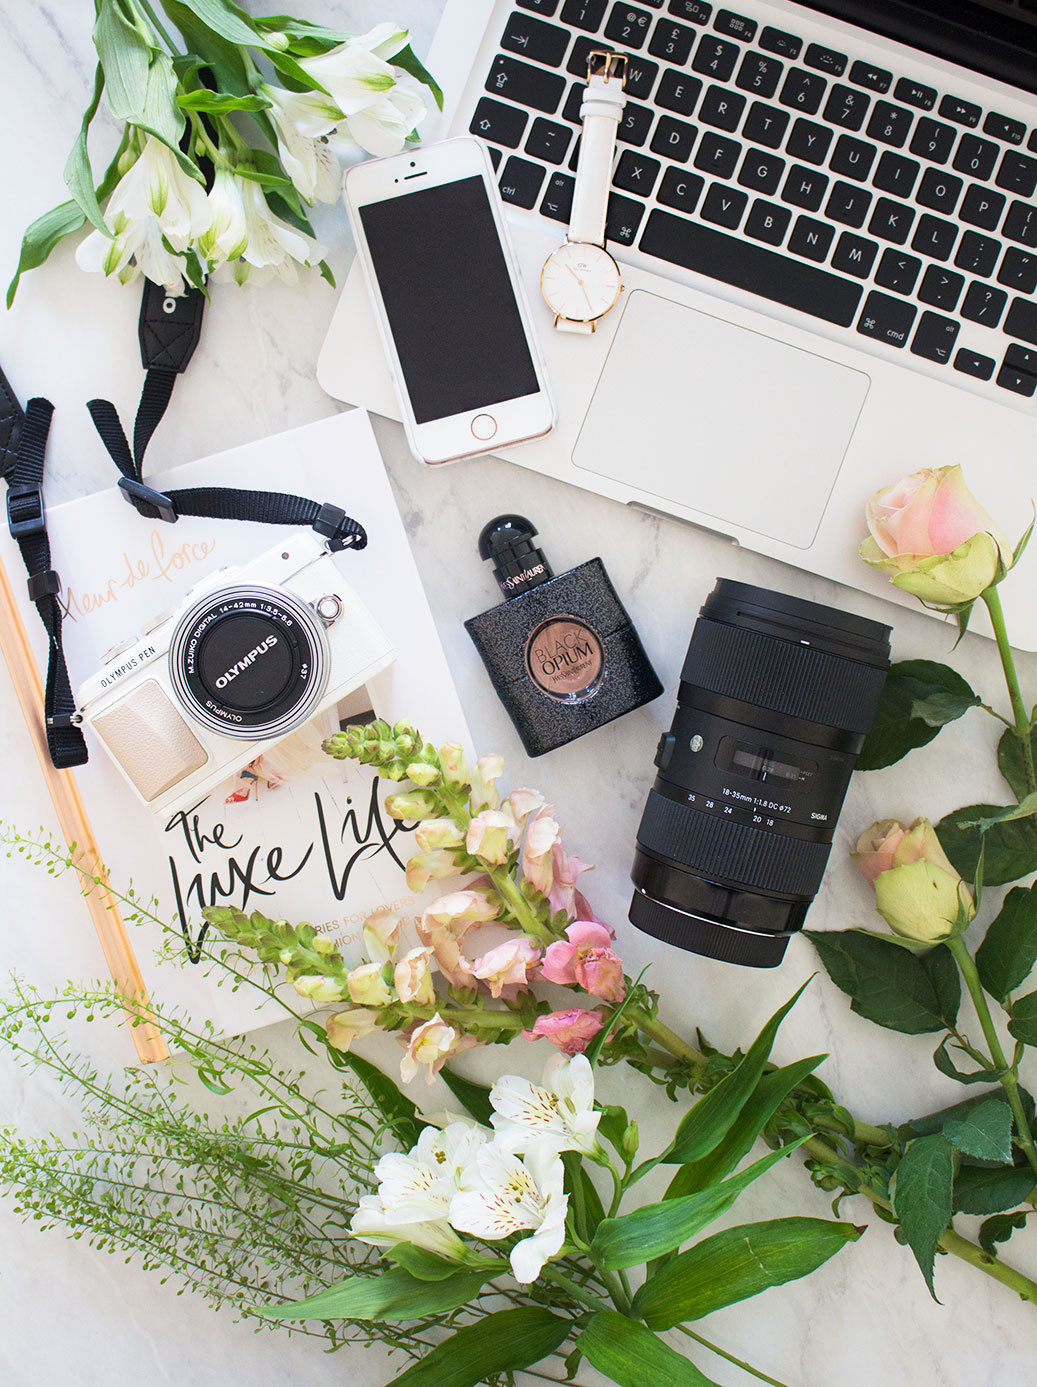
On The Go Camera: Olympus Pen
Most people that follow me on social media will be aware that I very recently invested in an Olympus Pen. I’ve had my eye on one for a while and my recent decision to go away spurred me on to finally get myself one. I ended up going for the E-PL7 as it was £150 cheaper than the E-PL8 and I read on various different websites that the difference was little to none. I’ve got it on credit so that I didn’t have to pay for it upfront, but I’m so glad I decided to invest as it’s the perfect camera for a blogger. If I was just starting out with blogging, I think I may have gone for this over a DSLR as the photos are such good quality for such a compact camera. It’s perfect for fashion or travel bloggers who constantly take their camera out the house, I can see why most of them have one now! If you do want to use this for all your blog photos, you would most likely need to invest in more lenses for it, especially if you want an f1.8 lens. For me, since I already have a camera and lens that I love, this is perfect for taking out the house to take snaps of Reuben with. It’s also perfect for vlogging with as it films and has a flip out screen that my other vlogging camera doesn’t. I’m 100% taking this on holiday with me as it’s the most perfect little camera! It is quite heavy for a compact, but nowhere near as heavy or bulky as my DSLR whilst taking photos that are pretty much on the same level of quality. I did a first impressions on my Instagram stories where I mentioned I’d zoomed in on two photographs, one taken on the Pen and one taken on my DSLR and the difference in quality was so minimal that you won’t even notice it on photos saved for web, which basically means you would never notice it on blog photos. It has built in wifi which is perfect for taking photos that you can send straight to Instagram as well as an app where you can use it remotely, so there are a lot of perks. Whilst I do still prefer to shoot my blog photos on my DSLR, I absolutely love this camera for on the go and it’s far easier to take out, especially with a lil baba on my hip!
Other Photography Essentials: Lighting & Tripod
I swear by the sunlight for my blog photos, I love the warmth and brightness that the sun gives them, but in England we aren’t always blessed with such weather. I did own a set of soft boxes a couple of years ago, but to be honest, I never liked the look they gave my photographs so I ended up putting them away and never touching them again. For lighting, the only thing I ever use is a flashgun, which I swear by. I know these can be fairly expensive, but they create the most natural lighting whilst completely brightening up a photograph during dull weather. I’ve had people say to me countless times how shocked they are that I’ve used flash because it genuinely looks like it’s taken in direct sunlight, that’s how good they are guys! I was fortunate enough to be given mine by my dad so I can’t give you an exact price, but the one I have is a Canon one and it’s bloody fantastic. I think you can also get ones from Sigma that are a bit more affordable.
Another photography essential for me is a tripod, I mostly use mine to film with but they also come in so handy for flat lays. You can pop your camera on it and see exactly what’s in the frame, and move things about to make sure it looks perfect whilst your camera stays completely still. They’re also great for when the lighting is dim so you can use a lower ISO without having camera shake, which is perfect for me as the lens I use doesn’t have image stabilizer. I had a really crappy tripod that broke so when Calumet got in touch and gifted me this one, I was really happy. It took me a bit of getting used to as it’s so different to my old one, but now that I’ve got the hang of it, I love it. It folds up super easily so that I can store it in the corner of my room without it being in the way too.
Editing Software: Photoshop
And finally, the editing software I use for my photographs. I barely spend any time editing my photos as I mainly just add a bit of brightness and sharpening and that’s it. BUT. I highly recommend using Photoshop to do it in, especially if you use a DSLR and shoot in RAW, bridge is just the absolute dream. It’s perfect for straightening photos (which comes in so handy for flat lays shot on wooden floorboards and aren’t straight!) as well as cropping them perfectly, and adding just the right amount of exposure to brighten them up. I also usually add a bit of vibrance to my photos, especially on dull days as it helps them look so sunlit and beautiful. I love editing my photos with layers, so that I can brighten up areas of my photo and erase parts where it’s too overexposed, it sounds complicated but it’s so easy once you get the hang of it. It takes me about 2 minutes to edit like three photographs! There’s just so many pros to Photoshop and you can get it super affordable these days, I currently have a plan with Adobe where I get my portfolio website as well as Photoshop CC all for about £10 a month, such a bargain.
So those are my current blog & photography essentials, make sure you let me know what yours are as I find it super duper interesting. Please let me know if I missed anything out and I will be happy to answer any questions 🙂
~ This post contains sponsored content. ~